7 Tips for Choosing Vacuum Bags for Meat
Choosing the right vacuum bag can make a noticeable difference when storing fresh meat. A weak bag may puncture near a sharp bone, while a poor seal can invite air, moisture, and freezer burn. This guide explores seven practical tips for selecting Vacuum Bags Meat for home kitchens, meal preparation, and careful long-term storage.
The safest choice depends on more than bag appearance. Look for food-grade materials, suitable thickness, reliable heat-seal performance, and compatibility with your vacuum sealer. Textured bags often help remove air efficiently, especially with moist cuts such as chicken thighs or marinated beef. Smooth bags may work well with compatible chamber machines. Check the manufacturer’s instructions carefully. Not every bag suits every machine.
Size matters too. A bag should leave enough space for sealing without wasting material. It should also fit the portion comfortably, without forcing meat against the edges. Small details matter. I have found that oversized bags can be convenient, but they may create uneven seals and unnecessary waste. That assumption is worth questioning.
Good preparation supports good packaging. Pat meat dry, protect sharp bones with parchment or a small bone guard, and keep the work area cold and clean. Label each package with the cut, weight, and packing date. Clear labeling prevents guesswork later. Choosing reliable bags is not merely about preserving appearance. It helps maintain quality, reduce waste, and support safer kitchen habits when storage temperatures and handling practices remain appropriate.
Identify the Right Vacuum Bag Material for Meat Storage
7 Tips for Choosing Vacuum Bags for Meat
Identify the Right Vacuum Bag Material for Meat Storage
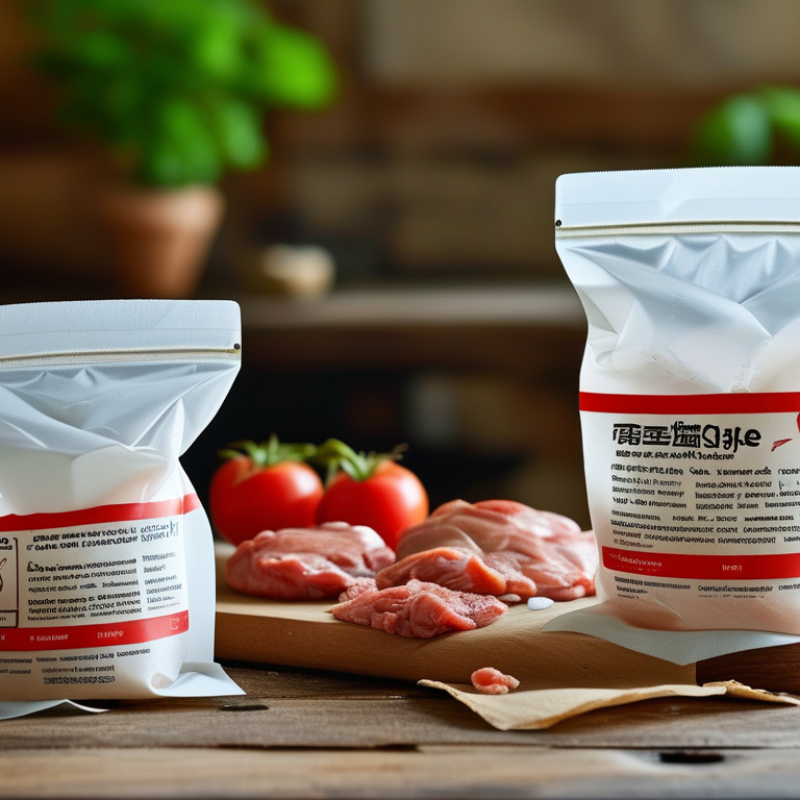
Tip 1: Choose food-contact-grade, multilayer bags. Polyamide and polyethylene layers are common because they combine puncture resistance with reliable heat sealing. The U.S. Food and Drug Administration’s Food Code 2022 emphasizes that food-contact materials should not transfer harmful substances, odors, or colors into food. Tip 2: Match the bag to storage conditions. A freezer-rated bag should remain flexible below 0°F (-18°C), the USDA FSIS recommended freezer temperature. Thin bags can crack around sharp bones. I have seen this happen.
Tip 3: Check oxygen and moisture barriers. Lower oxygen transmission helps reduce oxidation, freezer burn, and discoloration. Tip 4: Select thickness based on the cut. Delicate fillets need flexibility, while bone-in ribs need stronger film or bone guards. Tip 5: Leave enough sealing space. Keep roughly three inches above the meat, and wipe the opening completely dry before sealing. A wet seal is unreliable. Tip 6: Avoid ordinary storage bags. They may not tolerate vacuum pressure or direct contact with warm food. Tip 7: Read the temperature and cooking instructions carefully. The USDA states that vacuum packaging does not make raw meat shelf-stable; refrigeration or freezing remains essential. The FDA also advises using packaging as directed, not assuming every bag suits boiling or sous vide cooking. Material claims can be confusing, so verify them.
7 Tips for Choosing Vacuum Bags for Meat — Identify the Right Vacuum Bag Material for Meat Storage
Use the material, barrier, strength, and temperature information below to match a vacuum bag with the way you store and prepare meat.
| Tip | What to Check | Typical Material or Specification | Why It Matters for Meat | Best Use | Practical Guidance |
|---|---|---|---|---|---|
| 1 | Choose a food-contact material | PA/PE coextruded film Polyamide provides strength; polyethylene provides the heat-sealable food-contact layer. | This multilayer structure is commonly used because it combines puncture resistance, flexibility, and reliable sealing. | Fresh beef, pork, lamb, poultry, and fish | Confirm that the bag is specifically labeled for direct food contact and vacuum packaging. |
| 2 | Compare oxygen-barrier performance | Look for a low oxygen transmission rate, often expressed in cm³/m²/day. High-barrier structures may include PA/PE or an EVOH barrier layer. | Lower oxygen transfer helps reduce oxidation, discoloration, rancid odors, and freezer-related quality loss. | Longer refrigerated storage and extended frozen storage | Do not judge barrier quality by thickness alone; ask for the oxygen transmission specification when storage time is important. |
| 3 | Select suitable thickness | Common vacuum-bag thicknesses are approximately 70–150 micrometres (2.8–6 mil), depending on the application. | Thicker film generally offers better resistance to punctures from bones, sharp edges, and frozen products, although it may be less flexible. | 70–100 micrometres for boneless portions; 100–150 micrometres for bone-in cuts | Use a thicker or reinforced bag for bone-in meat, irregular cuts, or commercial handling. |
| 4 | Match the bag to the sealing method | Chamber-vacuum bags are usually smooth. External suction machines commonly require one textured or embossed side to create an air channel. | A compatible surface pattern helps air move toward the pump and supports a complete vacuum. | Smooth bags for chamber machines; embossed bags for edge-seal machines | Using a smooth bag in a machine designed for textured bags may prevent proper air removal. |
| 5 | Check temperature resistance | For freezing, the film should remain flexible at freezer temperatures. For sous vide or heating, use a bag with a clearly stated heat-use rating. | Unsuitable film can become brittle when frozen or soften, leak, or lose seal strength when heated. | Freezer storage, refrigeration, sous vide, or reheating according to the stated rating | Never assume a standard storage bag is safe for boiling or sous vide. Follow the manufacturer’s maximum temperature and time limits. |
| 6 | Evaluate puncture and seal strength | Look for consistent film thickness, strong edge seals, and adequate seal width. A seal width of roughly 3–8 mm is common, depending on equipment and bag design. | Strong seals reduce leakage from meat juices, while puncture resistance protects the vacuum during handling and storage. | Bone-in meat, marinated products, bulk portions, and transport | Leave sufficient empty space at the opening, keep the sealing area clean and dry, and use double sealing when appropriate. |
| 7 | Choose the right size and format | Select a bag that fits the portion with room for sealing, but avoid excessive unused space. Available formats include pre-cut bags, rolls, and custom-sized pouches. | A close fit improves vacuum efficiency, reduces material waste, and helps prevent liquid from reaching the machine or seal area. | Pre-cut bags for consistent portions; rolls for irregular cuts and flexible sizing | Keep meat in a single, even layer when possible. Allow approximately 7–10 cm of clear material above the product for reliable sealing. |
Safety reminder: Vacuum packaging does not replace refrigeration or freezing. Keep raw meat refrigerated at 4°C (40°F) or below, freeze it for longer storage, and follow validated food-safety procedures for thawing, cooking, and sous vide preparation.