


7 Tips for Buying Aluminum Casement Windows

An Aluminum Casement Window can bring fresh air and clear sightlines into a room, but appearance alone cannot tell you how it will perform. A smooth handle is reassuring; it is not proof of a durable frame or reliable weather seals. This guide looks at seven practical buying considerations, from frame construction and thermal breaks to glazing, hardware, installation, and warranty details.

Building-science expert Joseph Lstiburek is known for the concise principle, “Build tight, ventilate right.” It offers a useful lens for comparing windows: a tight-closing sash can help limit unwanted drafts, while planned ventilation still matters. Ask how the window is tested, and request performance documentation for the exact model. Small details matter. Check the corner joints, gasket fit, hinge movement, and drainage paths. If the salesperson cannot explain them clearly, pause and ask again.

Your home’s exposure should guide the choice. A wind-facing bedroom, a humid kitchen, and a sheltered sunroom may need different glass, finishes, or hardware. In coastal settings, ask the manufacturer about corrosion-resistant components and care requirements; do not assume every aluminum finish suits every location. Compare the complete installed specification, not just the frame sample or advertised price. There is no perfect option. Even a well-made window can disappoint if measured or installed poorly, so include the installer’s qualifications and written warranty in your decision. The seven tips ahead will help you compare carefully—and notice what still needs a second look.
7 Tips for Buying Aluminum Casement Windows

Understand the Design and Operation of Aluminum Casement Windows

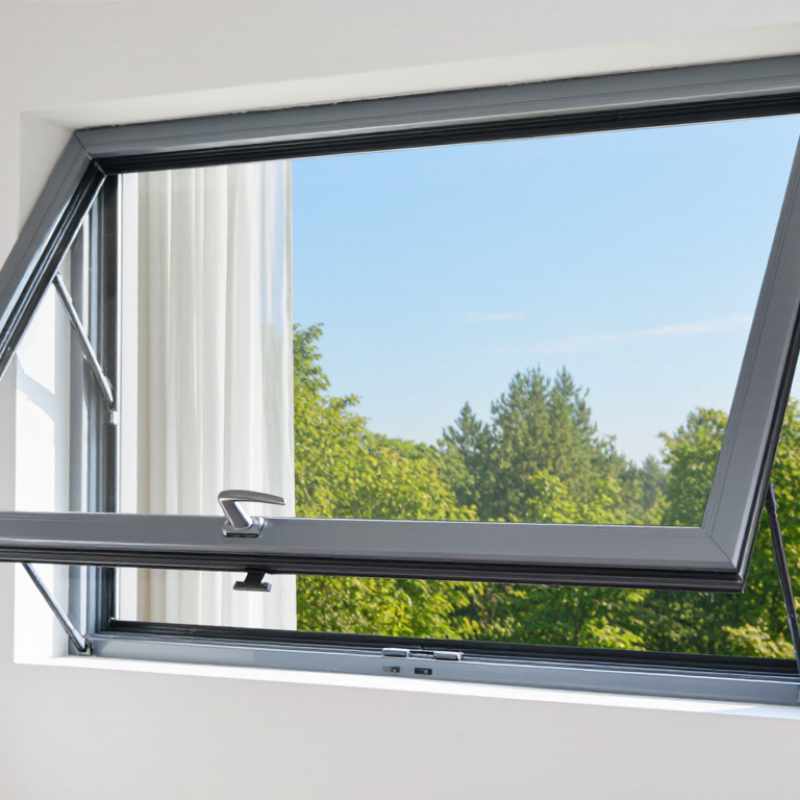
An aluminum casement window is hinged along one side, with a crank or handle moving the sash outward. Turn the handle, and the sash opens like a small door. This design creates a broad, unobstructed opening and can catch passing breezes. Look closely at the hinges, locking points, and weather seals; these details shape everyday operation. Small parts matter.

Casements often press firmly against the frame when closed, but performance depends on accurate installation, not aluminum alone. A frame that sits out of square may make the crank stiff or leave uneven gaps. Ask how the window will be secured and sealed, and check that the handle clears nearby cabinets or curtains. Try it yourself. The motion should feel smooth, without grinding or looseness.

Because the sash swings outward, check for walkways, shrubs, or other obstacles outside. Consider where rain may strike and whether the open sash could catch strong wind. Screens may sit inside or outside, depending on the design, so confirm that they are easy to remove and clean. A showroom sample can look convincing, yet it may not reveal how a window feels after years of use. Focus on the mechanism and fit, not just the frame’s finish.
7 Tips for Buying Aluminum Casement Windows: Understand the Design and Operation

How to read the chart: The angles show illustrative sash positions, not a product specification. Actual opening angles depend on the window hardware, size, and installation.

  1. Check whether the sash opens inward or outward and whether it clears nearby walls or walkways.
  2. Test the handle and operator; the sash should move smoothly without binding.
  3. Inspect hinges and locking points for secure, even engagement.
  4. Compare frame and sash dimensions with the available opening.
  5. Ask for documented air, water, and structural performance ratings for the exact model.
  6. Check the glazing options and verify energy ratings appropriate for your climate.
  7. Confirm drainage details, finish care, hardware access, and warranty coverage.

Set Your Size, Opening, and Style Requirements

7 Tips for Buying Aluminum Casement Windows

Set Your Size, Opening, and Style Requirements

Start by measuring the existing opening, not just the old window frame. Record width at the top, middle, and bottom, then height at both sides and the center. Measure twice. Uneven openings are common, especially in older homes. Share the measurements with your installer and confirm whether they need the rough-opening size or the finished frame size. Those are not always identical.

Next, decide which way each sash should swing. Specify the hinge side as viewed from indoors, and check that the outward-opening sash clears paths, shrubs, and nearby walls. Make sure the handle is easy to reach above a counter or sink. It is tempting to order every window alike, but room use may call for different opening directions. Check ventilation needs and any applicable egress requirements before finalizing the layout.

Choose frame proportions, color, and grille details to suit the room and exterior. Narrow sightlines can preserve more glass, while divided-light details create a more traditional look. Also compare energy ratings for your climate. The U.S. Department of Energy’s Energy Saver guidance estimates that windows account for about 25–30% of residential heating and cooling energy use. That figure is not a guaranteed saving from replacement; installation and the whole-home design matter, too.

A detail worth revisiting.

Compare Frame Quality, Thermal Breaks, and Glazing Options

When comparing aluminum casement windows, look beyond the finish. Ask for frame section drawings and check the profile depth, wall thickness, and corner construction. Solid, neatly joined corners should feel rigid, not flex when the sash opens. A smooth coating matters too, but it cannot compensate for weak hardware or poor drainage. Small details count.

Thermal breaks separate the frame’s indoor and outdoor aluminum surfaces with an insulating material, often a polyamide strip. This reduces heat transfer, but performance depends on the whole window, not the strip alone. Compare certified whole-window U-values where available, and ask how the frame performs in your climate. A warm frame can still develop condensation if indoor humidity is high or installation leaves gaps. It happens.

Glazing choices affect comfort, daylight, and solar heat. Double glazing may suit many homes; low-emissivity coatings can reduce heat loss, while solar-control glass may help limit summer gain. Check the glass specification and compare U-value and solar heat-gain figures, rather than choosing by pane count alone. Also consider orientation: a sunny south-facing room may need different glass from a shaded bedroom. I would not assume the darkest option is best; it can make a bright room feel unexpectedly dim. Have the installer confirm that glazing weight matches the casement hardware, especially on wide sashes.

Assess Hardware, Weather Seals, and Security Features

When buying aluminum casement windows, test the hardware in person. Open and close each sash several times. Movement should feel even, without scraping or a sudden drop. Check that hinges are firmly fixed and locking points engage without forcing the handle. More locks do not automatically mean better security. Ask whether the complete window assembly has been independently tested for forced-entry resistance, such as under ASTM F588. A neat showroom sample can hide poor installation details. That is worth questioning.

Weather seals deserve the same close look. Inspect the gasket around the sash for gaps, flattened spots, or loose corners, especially near hinges. Close the window on a strip of paper; if it pulls out easily in one area, compression may be uneven. This is only a rough check, not a substitute for testing. The U.S. Department of Energy reports that heat gain and loss through windows account for about 25–30% of residential heating and cooling energy use. Compare the unit’s NFRC-rated U-factor and solar heat gain coefficient, then ask how the seals and hardware are tested together. A good rating helps, but installation can still undermine it.

Review Installation, Total Cost, and Warranty Coverage

Tip 1: Review the installation plan before comparing quotes. Ask whether the price includes removal of old frames, disposal, flashing, sealant, and interior trim. A well-fitted casement should open smoothly and close without rubbing. Check how the installer will protect nearby flooring and manage gaps around the frame. Small details matter.

Tip 2: Compare the total cost, not just the window price. Request an itemized estimate covering delivery, labor, hardware, finishing, and any repairs to the opening. An older home may have uneven framing, which can add work. Keep a modest contingency in your budget. Quotes can look tidy, but omissions are easy to miss.

Tip 3: Read the warranty coverage carefully. Confirm how long the frame, finish, hardware, and glass are covered, and whether labor is included. Ask what care or maintenance is required to keep coverage valid. Keep your invoice and installation records. One detail worth checking: does the warranty cover only parts, or replacement and labor too? If an answer is vague, ask for it in writing before signing.

7 Tips for Buying Aluminum Casement Windows - Review Installation, Total Cost, and Warranty Coverage

Tip What to Review Useful Checks Questions to Ask
1. Compare frame construction Aluminum frames are strong and can support slim sightlines, but metal conducts heat more readily than many other frame materials. Check whether the frame has a thermal break, and review the whole-window energy ratings rather than judging by frame material alone. Does the frame include a thermal break? What are the tested U-factor and solar heat gain coefficient (SHGC) for this exact window configuration?
2. Match the glazing to your climate Glass choice affects heat loss, solar gain, glare, and condensation. Double-pane insulated glass is common; low-emissivity coatings and gas fills may improve performance. Compare NFRC-rated whole-window U-factor and SHGC. A lower U-factor means less heat transfer; the preferred SHGC depends on climate, orientation, and shading. Are the ratings for the complete window, including its frame? Is the glazing appropriate for the window’s direction and local climate?
3. Check operation and hardware Casement windows open outward on hinges and are operated by a crank. Smooth operation, secure locks, and accessible hardware matter for everyday use. Operate the sample several times. Check the handle, hinges, locking points, weatherstripping, and whether the sash can open without hitting an obstruction. Can the hardware be adjusted or replaced? Is the handle reachable, and will the open sash interfere with a walkway, screen, or exterior fixture?
4. Confirm measurements and fit Replacement-window sizing depends on the existing opening and installation method. A poor fit can affect sealing, operation, and water management. Have the installer verify opening dimensions, squareness, sill condition, and the chosen frame-to-opening clearance before ordering. Who takes final measurements? Does the quote cover correction of hidden rot or out-of-square openings, or are those repairs extra?
5. Review the installation plan Installation quality affects air and water sealing as well as window operation. The work may involve a full-frame replacement or an insert installation, depending on the opening. Ask how flashing, insulation, perimeter sealing, interior and exterior trim, and disposal will be handled. Confirm that the installation method suits the existing wall and frame. What work is included in writing? Who is responsible for flashing and sealing, and how will the finished installation be inspected?
6. Compare the complete project cost The purchase price is only part of the budget. Labor, delivery, trim, permits where required, disposal, and repairs can change the final amount. Compare itemized, like-for-like written quotes. Include the same number and size of windows, glazing, hardware, installation scope, and cleanup in each comparison. Which items are included or excluded? Are permits, disposal, trim work, taxes, and potential repair allowances listed separately?
7. Read warranty coverage carefully Coverage can differ for frame finish, glass, hardware, and installation. Terms, exclusions, and claim procedures matter as much as the stated duration. Check when coverage begins, whether it is transferable, what maintenance is required, and whether labor, shipping, or removal costs are covered. Are product and installation warranties separate? What exclusions apply to coastal exposure, finish wear, glass failure, or improper maintenance?

Planning note: Performance ratings, installation requirements, permit rules, and warranty terms vary by product, building, and location. Verify specifications and scope in the written quote before ordering.

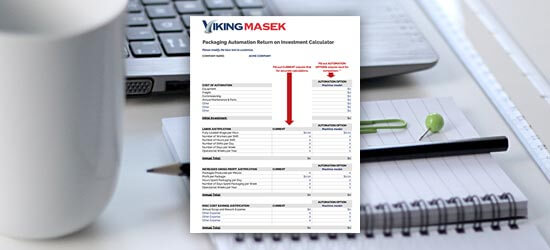
Packaging machine ROI calculator

Need help figuring out if packaging automation is right for your business?


First, start with the numbers. Download our free packing machine ROI calculator to learn how long it will take for an investment in automation to pay for itself (and much more).


Free packaging automation ROI calculator