7 Tips for Choosing the Best Ring Terminal Lugs
Choosing Ring Terminal Lugs is not a small detail; it affects how securely a wire meets a stud and how well the connection holds up over time. A lug can look suitable on a workbench, then prove awkward in a crowded control panel. Fit matters. So does the environment around it.
Electrical educator Mike Holt is a useful reference for safe wiring practice. Rather than inventing a verbatim quote from him, this guide uses a plain-language paraphrase of that principle: “A dependable electrical connection begins with the correct parts and careful installation.” The reminder is simple, but real installations are not always tidy. Vibration, moisture, heat, wire-strand count, and limited clearance can all change which lug is appropriate.
This guide’s seven tips will help compare conductor size, stud-hole diameter, material, insulation, plating, and crimp compatibility. Check the wire gauge against the lug marking, then confirm the barrel accepts the conductor properly. A lug that is too loose can shift; one that is too small may damage strands during installation. Look closely. Small markings matter.
We will also consider copper and aluminum applications, corrosion exposure, and the tooling needed for a consistent crimp. Product labels and manufacturer instructions should guide the final choice. One detail is easy to miss: a visually neat crimp does not, by itself, prove a reliable connection. Use the right die, inspect the finished joint, and pause when a specification is unclear. That extra check may feel fussy. It is often worthwhile.
Define Circuit Voltage, Current, and Cable Type Using ISO 6722-1
Before selecting a ring terminal lug, write down the circuit’s nominal voltage, peak current, and cable construction. ISO 6722-1:2011 covers single-core road-vehicle cables rated for 60 V or 600 V systems. Use its cable requirements to check that the insulation and conductor type suit the application; do not treat the voltage class as proof that a cable can carry a particular current. Current capacity also depends on conductor area, ambient heat, bundling, and operating time. Heat changes everything.
Match the lug barrel to the cable’s actual conductor size and type, then confirm the stud diameter and available space. A loose barrel fit can raise resistance; a poor crimp can loosen under vibration. The IEA’s Global EV Outlook 2024 reports nearly 14 million electric-car sales worldwide in 2023, highlighting the growing need for carefully specified vehicle wiring. Still, higher-voltage systems are only part of the picture. It is easy to over-trust a printed ampacity, so check the vehicle maker’s wiring specification and the lug maker’s crimp guidance before installation. I would recheck the cable insulation temperature rating, too; that detail is easy to overlook.
Match Lug Barrel Capacity to AWG and mm² Conductor Sizes
A ring terminal lug should match the conductor’s cross-sectional area, not just its outside diameter. AWG and mm² are different sizing systems, so check a reliable conversion chart or the lug maker’s sizing table. A 10 AWG wire and a 6 mm² wire are close in size, but they are not always interchangeable for every lug. Stranding matters, too. Fine-stranded cable may fit differently from solid wire. Check the specified wire range and strip length before crimping.
Tip: Match both the conductor size and the barrel capacity. If a lug lists AWG sizes but your wire is marked in mm², confirm the fit with the manufacturer’s chart. Don’t force an oversized conductor into a small barrel, or cut strands to make it fit. That shortcut can weaken the connection. Easy to miss.
Use the recommended crimping die for the lug and conductor combination. The wire should fill the barrel without loose strands or excessive gaps. After crimping, inspect the joint and give the wire a firm pull. A secure-looking crimp can still be poor. If the barrel capacity is unclear, pause and verify it; guessing here is tempting, but not worth the uncertainty.
Choose Ring-Hole Diameter to Fit M4, M5, M6, or SAE Studs
7 Tips for Choosing the Best Ring Terminal Lugs
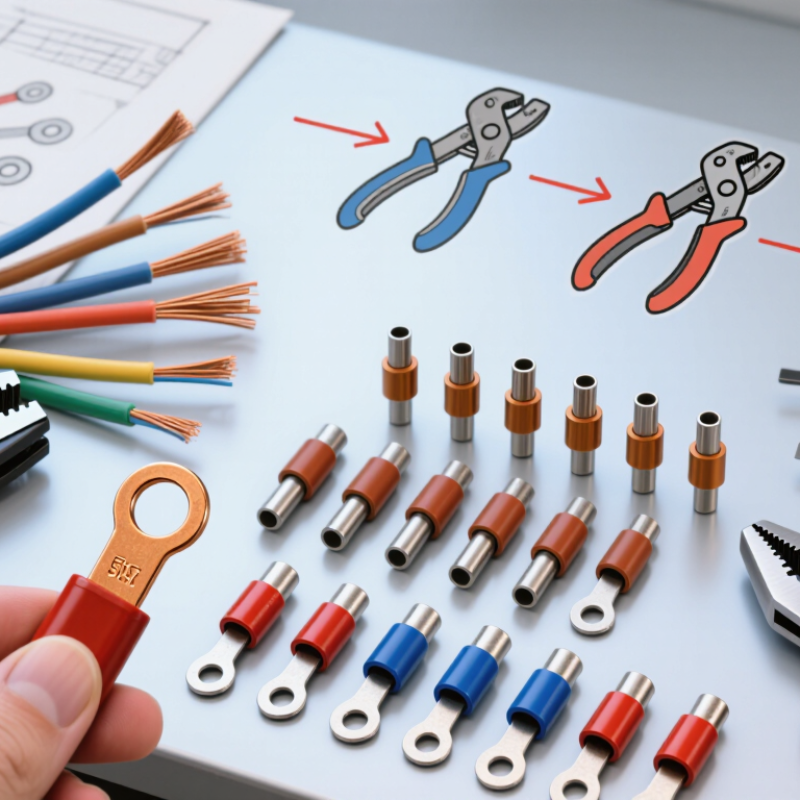
A ring terminal must fit the stud, not just the wire. M4, M5, and M6 refer to metric stud diameters of about 4, 5, and 6 millimeters. The lug hole needs a little clearance to slide over the stud, but excessive movement can reduce contact stability. A caliper check is useful when the hardware label is unclear.
Tip: Match the opening to the measured stud. For an M5 stud, choose a lug listed for M5 rather than guessing from appearance. SAE sizes use inch measurements, and their labels can be easy to confuse. Measure the stud’s shank, then check the lug maker’s fit specifications. It takes a moment.
Before crimping, confirm that the barrel suits the wire gauge and that the ring sits flat against the connection surface. A hole that is too small may bind; one that is much too large can shift during installation. I would recheck the fit before applying the specified tightening torque. It is easy to overlook a washer or nearby obstruction, so check the full stack-up too. A neat-looking connection is not proof of a secure one.
Verify Crimp Tool and Die Compatibility With the Lug Manufacturer’s Specifications
A crimp can look neat and still be electrically weak. The tool and die must match the lug’s specified conductor range, material, and barrel design. NASA-STD-8739.4, a workmanship standard for crimped interconnections, emphasizes controlled tooling and inspection. IEC 61238-1 also evaluates compression and mechanical performance in cable connectors. These references are useful because a visual check alone cannot confirm a reliable crimp. Small details matter.
Tips: Check the lug maker’s tool-and-die chart before crimping. Confirm the die code, wire size, and lug series—not just the tool’s general capacity. Inspect the die faces for wear or damage. Make a sample crimp, then check its shape and pull strength against the maker’s instructions. I still double-check the chart when changing lug sizes; assumptions are easy to make.
Keep the tool calibrated where the manufacturer requires it, and record the tool ID for repeat work. UL 486A-486B covers safety and performance requirements for wire connectors, including connection testing. Its test requirements vary with connector type and conductor size, so do not substitute a generic pull-force target. A slightly flattened barrel may be normal for one die profile and wrong for another. Match the specification, then inspect the finished connection.