Why Is My HDMI Extender TX Not Working?
When a television shows “No Signal,” the Hdmi Extender Tx often receives blame first. That diagnosis can be wrong. The real problem may hide in power delivery, cable quality, EDID communication, or a loose connector.
Jeff Boccaccio, a veteran HDMI testing specialist and founder of DPL Labs, explains, “HDMI is a system, not just a cable.” His point matters here. An HDMI Extender TX depends on several parts working together. The source, transmitter, receiver, display, network cable, and power adapters must communicate correctly. One weak link can interrupt the entire signal path.
This guide examines why an HDMI Extender TX may stop working and how to identify the failure. It covers common symptoms, practical testing steps, and overlooked installation details. For example, a transmitter may show power while sending no video. A receiver may display a blinking screen after a long Cat6 cable run. The image might return when the cable bends slightly. That detail is easy to dismiss, but it can reveal a damaged plug or poor termination.
Experience also teaches caution. Replacing the extender immediately may waste time and money. Sometimes, the television input is incorrect. Sometimes, the source outputs an unsupported resolution. A simple test with a short certified HDMI cable can expose the mistake. Still, not every problem has an obvious cause. Interference, heat, firmware differences, and inconsistent power supplies can complicate troubleshooting. Careful testing remains more reliable than guessing.
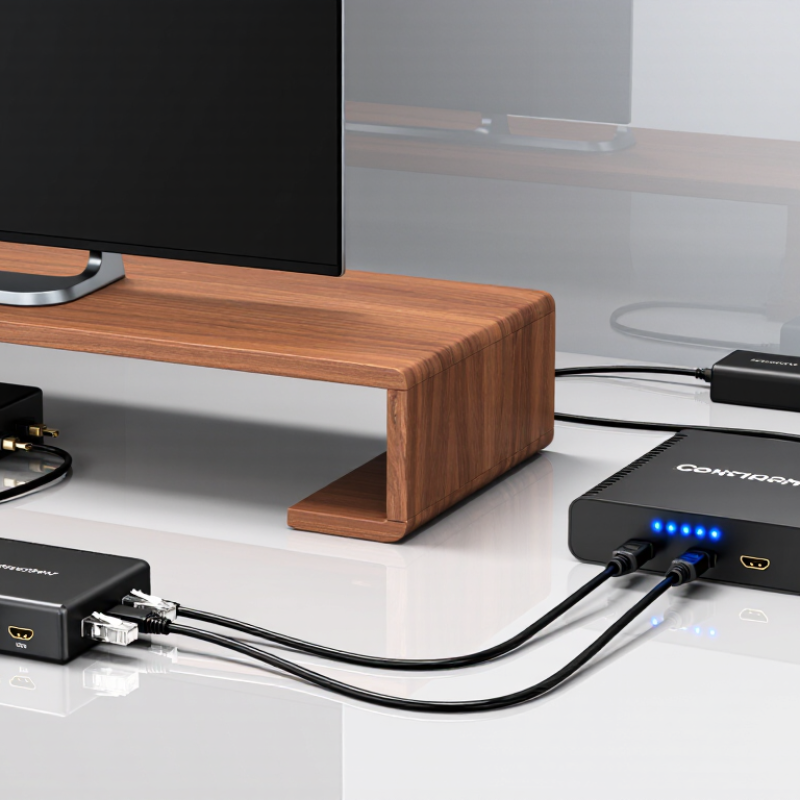
HDMI Extender TX Basics: Verify Power, HDMI Input, and Signal Direction
When an HDMI extender TX stops working, check power before replacing cables. A dark power indicator usually means an inactive adapter, loose connector, or unsuitable power supply. The HDMI Forum’s HDMI 2.1 specification supports data rates up to 48 Gbps, but many extenders accept less. An overloaded input can produce a black screen, flicker, or intermittent audio. Confirm the source device connects to the TX input, not the display output. It sounds obvious.
Inspect the HDMI input closely. Push the cable firmly into the source and TX ports. Test a short, certified cable before testing a long installation cable. The Consumer Technology Association’s 2024 market research identifies continued growth in connected home devices, increasing the chance of mixed video standards in one system. A source may output 4K, HDR, or a high refresh rate that the extender cannot process. Lower the source temporarily to 1080p at 60 Hz.
Signal direction causes many field failures. TX means transmitter, so it belongs beside the media player, computer, or camera. RX means receiver, so it belongs beside the television or projector. Reverse installation will not pass a signal, even when both units show power. Check labels and arrow markings. I once trusted the cable layout too quickly and missed a reversed unit. That mistake was avoidable. Also verify that both extender ends use compatible power adapters, because a lit TX indicator does not prove successful HDMI handshaking.
Confirm Source Compatibility with HDMI 2.0’s 18 Gbps Bandwidth Requirement
Why Is My HDMI Extender TX Not Working?
When an HDMI extender TX shows no signal, check the source before replacing the unit. HDMI 2.0 can carry up to 18 Gbps, but the source, cables, and extender must support the same data rate. A source configured for 4K at 60 Hz, HDR, or deep color may exceed an older extender’s capacity. The screen may remain black, flicker, or display intermittent snow.
I once blamed the transmitter immediately. That was a mistake. The source had selected a high-bandwidth output mode that the extender could not process. Set the source to 4K at 30 Hz first, then test the connection. If the picture returns, the issue is probably bandwidth compatibility. Test with a certified high-speed HDMI cable, especially between the source and TX. Also inspect the source’s output menu for resolution, HDR, color depth, and HDCP settings. Matching these options can restore a stable signal.
Tips: Disconnect power from every device for one minute. Reconnect the source, TX, receiver, and display in that order. Check the extender’s specifications for 18 Gbps support, not only “4K” wording. “4K” alone proves little. If possible, test another source with a lower output setting. Keep the cable run short during testing, because long cables can expose signal weaknesses. Document each change; guessing wastes time.
Test HDCP 2.2 Handshakes, EDID Settings, and Resolution Negotiation
Why Is My HDMI Extender TX Not Working?
When an HDMI extender TX fails, test the HDCP 2.2 handshake before replacing hardware. HDCP protects some high-definition content during device authentication. A failed handshake may cause a black screen, flickering, or repeated signal drops. Disconnect the extender, then connect the source directly to the display. If the direct connection works, reconnect the TX and RX units. Power the display first, followed by the receiver, transmitter, and source. This order is not universal, but it often refreshes communication.
Check EDID settings next. EDID tells the source which resolutions, refresh rates, and audio formats the display accepts. Try Auto, Display, or a fixed EDID mode, depending on the extender. A copied EDID can help when several displays are connected. Resolution negotiation also deserves attention. Test 1080p first, then increase to 4K at the required refresh rate. A stable lower resolution often reveals bandwidth or compatibility limits. I have seen technicians blame the TX too quickly.
Tips: Use short, certified HDMI cables during testing. Test one source and one display only. Record each setting. If 1080p works but 4K fails, inspect HDCP 2.2 support, cable bandwidth, HDR settings, and refresh-rate limits. Leave the final configuration unchanged for several minutes. Brief success can be misleading.
Inspect Cat6 Cabling Against 100 m Structured-Cabling Guidelines
Why Is My HDMI Extender TX Not Working?
Inspect Cat6 Cabling Against 100 m Structured-Cabling Guidelines
When an HDMI extender transmitter fails, inspect the Cat6 path before replacing hardware. A 100 m channel usually includes 90 m of permanent cable and 10 m of patch cords. Longer runs may exceed the expected signal margin. Measure the route, not just the cable label.
Check every termination carefully. The same T568A or T568B wiring pattern must appear at both ends. One reversed pair can leave a basic tester showing partial continuity while high-speed signals fail. Look for loose keystone contacts, untwisted conductors, damaged jackets, and sharp bends near wall plates. Small details matter.
I once blamed the transmitter too quickly. The real fault was a patch cord crushed behind a cabinet. It passed a simple continuity test. It failed under load. Use a qualified cable certifier when possible, and record insertion loss, return loss, and length. A short, known-good Cat6 patch lead can also isolate the extender from the building cable. Keep network switches, power adapters, and fluorescent fixtures away from vulnerable cable paths. Couplers add another failure point.
Do not coil excess cable tightly. Do not mix questionable patch leads with a carefully installed permanent link. A clean link can still perform poorly at its weakest connection. If the TX works over a short cable but not across the room, the structured cabling deserves closer inspection.
Isolate TX Hardware Failure with Direct-Connection and Swap Tests
Why Is My HDMI Extender TX Not Working?
A failed HDMI transmitter can look like a receiver, cable, or display problem. Isolate it with a direct-connection test. Connect the source directly to the display using a short, certified HDMI cable. If the picture returns, the source and display probably work. Insert the TX alone, without the long link or RX unit. A dark screen, unstable image, or missing audio points toward TX power, output, or handshake failure.
I use a spare source and a known-good cable during this test. Swap one item at a time. Do not replace everything together. Check the TX power light, then measure the adapter output if safe equipment is available. A loose connector can mimic electronic failure. I once blamed a transmitter, but the real fault was a partially inserted cable. That mistake still matters.
AVIXA’s 2024 Industry Outlook and Trends Analysis places the professional audiovisual market above 300 billion dollars worldwide. Small signal failures can therefore disrupt costly installations. Uptime Institute’s 2023 Global Data Center Survey reported that 60% of respondents experienced an outage costing more than 100,000 dollars. HDMI faults are usually smaller, but isolation prevents unnecessary replacement. If a known-good source, cable, display, and power adapter still produce no signal, record the test results before service. The TX may be defective, though intermittent faults require longer observation.